Now, for something completely different.
How to make a steampunk blaster!
Break out the top hats and the absinthe, cause it’s going to be a bumpy ride. Well, not really, but that doesn’t mean we rogues and knaves shouldn’t enjoy ourselves. Today, I bring you a step by step guide to “steaming” the mundane to create the fantastical… or, in this particular case, the marginally fascinating, yet still slightly off-putting.
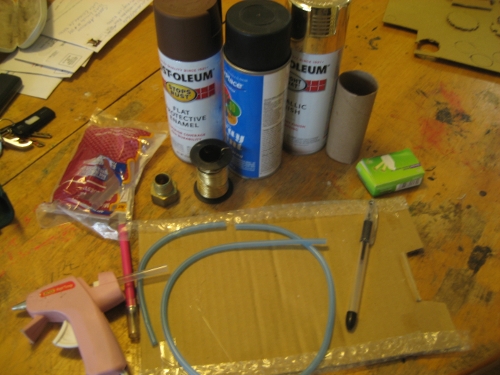
First, one must gather his or her materials. Rummage around to find any strange bits or bobs that may be floating around your home (though, the adventurous may elect to pilfer from the neighbors and dive into dumpsters).
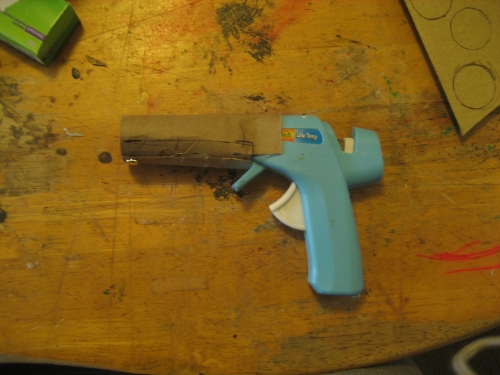
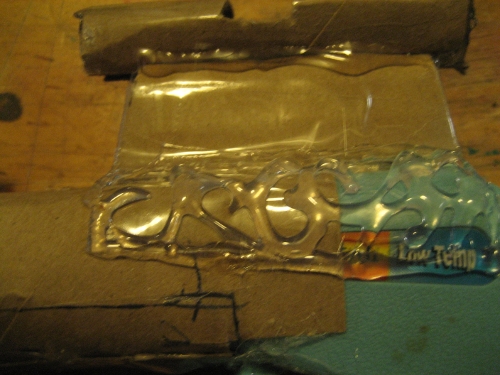
Next, we assemble the basic components and begin to bond them together, like so:
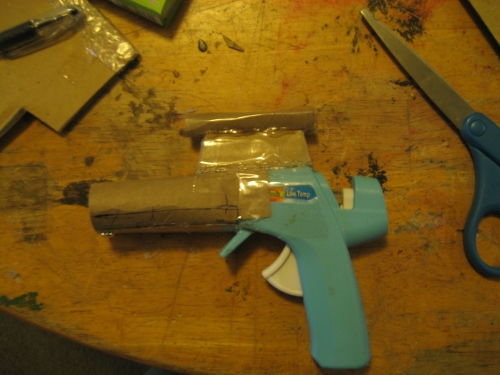
Hmm…. still looks like an old glue gun with a paper towel roll glued onto it. Let’s add something to make the shape a bit less familiar.
Lovely. Well, now we need something up front, don’t we? It’s a sight… or something. The important thing here is that this item appears to serve a function. With steampunk props, functional pieces, or pieces that appear functional = FTW.
I say, old chaps! Wouldn’t it be delightful if perhaps this weapon ran on steam supplied by liquid crystal? Indubitably. Capital idea. Well, I suppose we must create a cozy place to store our power source. This is where an X-acto knife comes in handy.
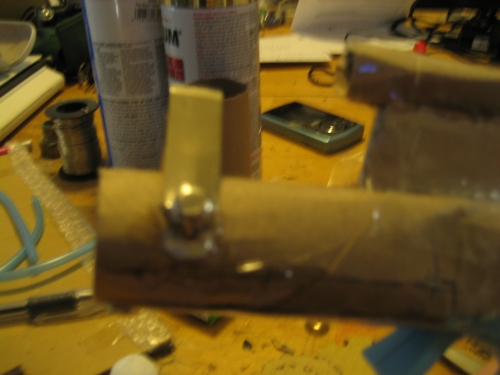
Another functional item. Always sensible to be able to clip your weapon to your belt securely when you find yourself without your holster.
As any sensible weapon smith knows, style is important as well. No dashing sky captain or daring lady pirate would be caught dead with a weapon so plain any scoundrel could be its owner. Let’s add a flower to the barrel and then use some glue to make this piece more interesting.
What now? Well, it doesn’t look very impressive yet, does it? Let’s go ahead and give it some paint.
First, I used black as a primer.
Next, brown to give a burnished, worn effect under the gold.
Now, metallic gold to give the impression this gun is cast from metal.
Oh, dear. It is entirely too shiny, isn’t it? To combat blindness, I very lightly dusted the gun with brown until I achieved the look of antique brass or copper.
Now, to make this item look well-loved and oft-used, I’ve applied some acrylic paint in various shades of brown in the low areas.
On high areas, I used watered down paint and even applied some green to give the gun a patina.
Next I attached some air tubing, the marble (ahem, I mean crystallized liquid).

Finally, wrap some gold wire around the barrel and the tubing. Spray with clear coat to seal and…. Voila! There you have it, the finished product.

